Version 1.2.2 of the documentation is no longer actively maintained. The site that you are currently viewing is an archived snapshot. For up-to-date documentation, see the latest version.
Demo with release binary
The demo setup with the release binary only works with a Linux system running on a x86-64 processor.
Grab the release binary at GitHub. The following description assumes you perform all tasks from your home folder. Extract the tar archive:
tar xzf cc-backend_Linux_x86_64.tar.gz
Create an empty folder and copy the binary cc-backend from the extracted archive folder to this folder:
mkdir ./demo
cp cc-backend ~/demo
Change to the demo folder and run the following command to setup the required var
directory, initialize the sqlite database, config.json and .env files:
./cc-backend -init
Open config.json in an editor of your choice to edit the existing clusters
name and add a second cluster. Name the clusters fritz and alex. The file
should look as below afterwards:
| |
Download the demo job archive:
wget https://hpc-mover.rrze.uni-erlangen.de/HPC-Data/0x7b58aefb/eig7ahyo6fo2bais0ephuf2aitohv1ai/job-archive-demo.tar
Extract the job archive:
tar xf job-archive-demo.tar
Initialize the database using the data from the job archive and create the demo user:
./cc-backend -init-db -add-user demo:admin:demo -loglevel info
Start the web server:
./cc-backend -server -dev -loglevel info
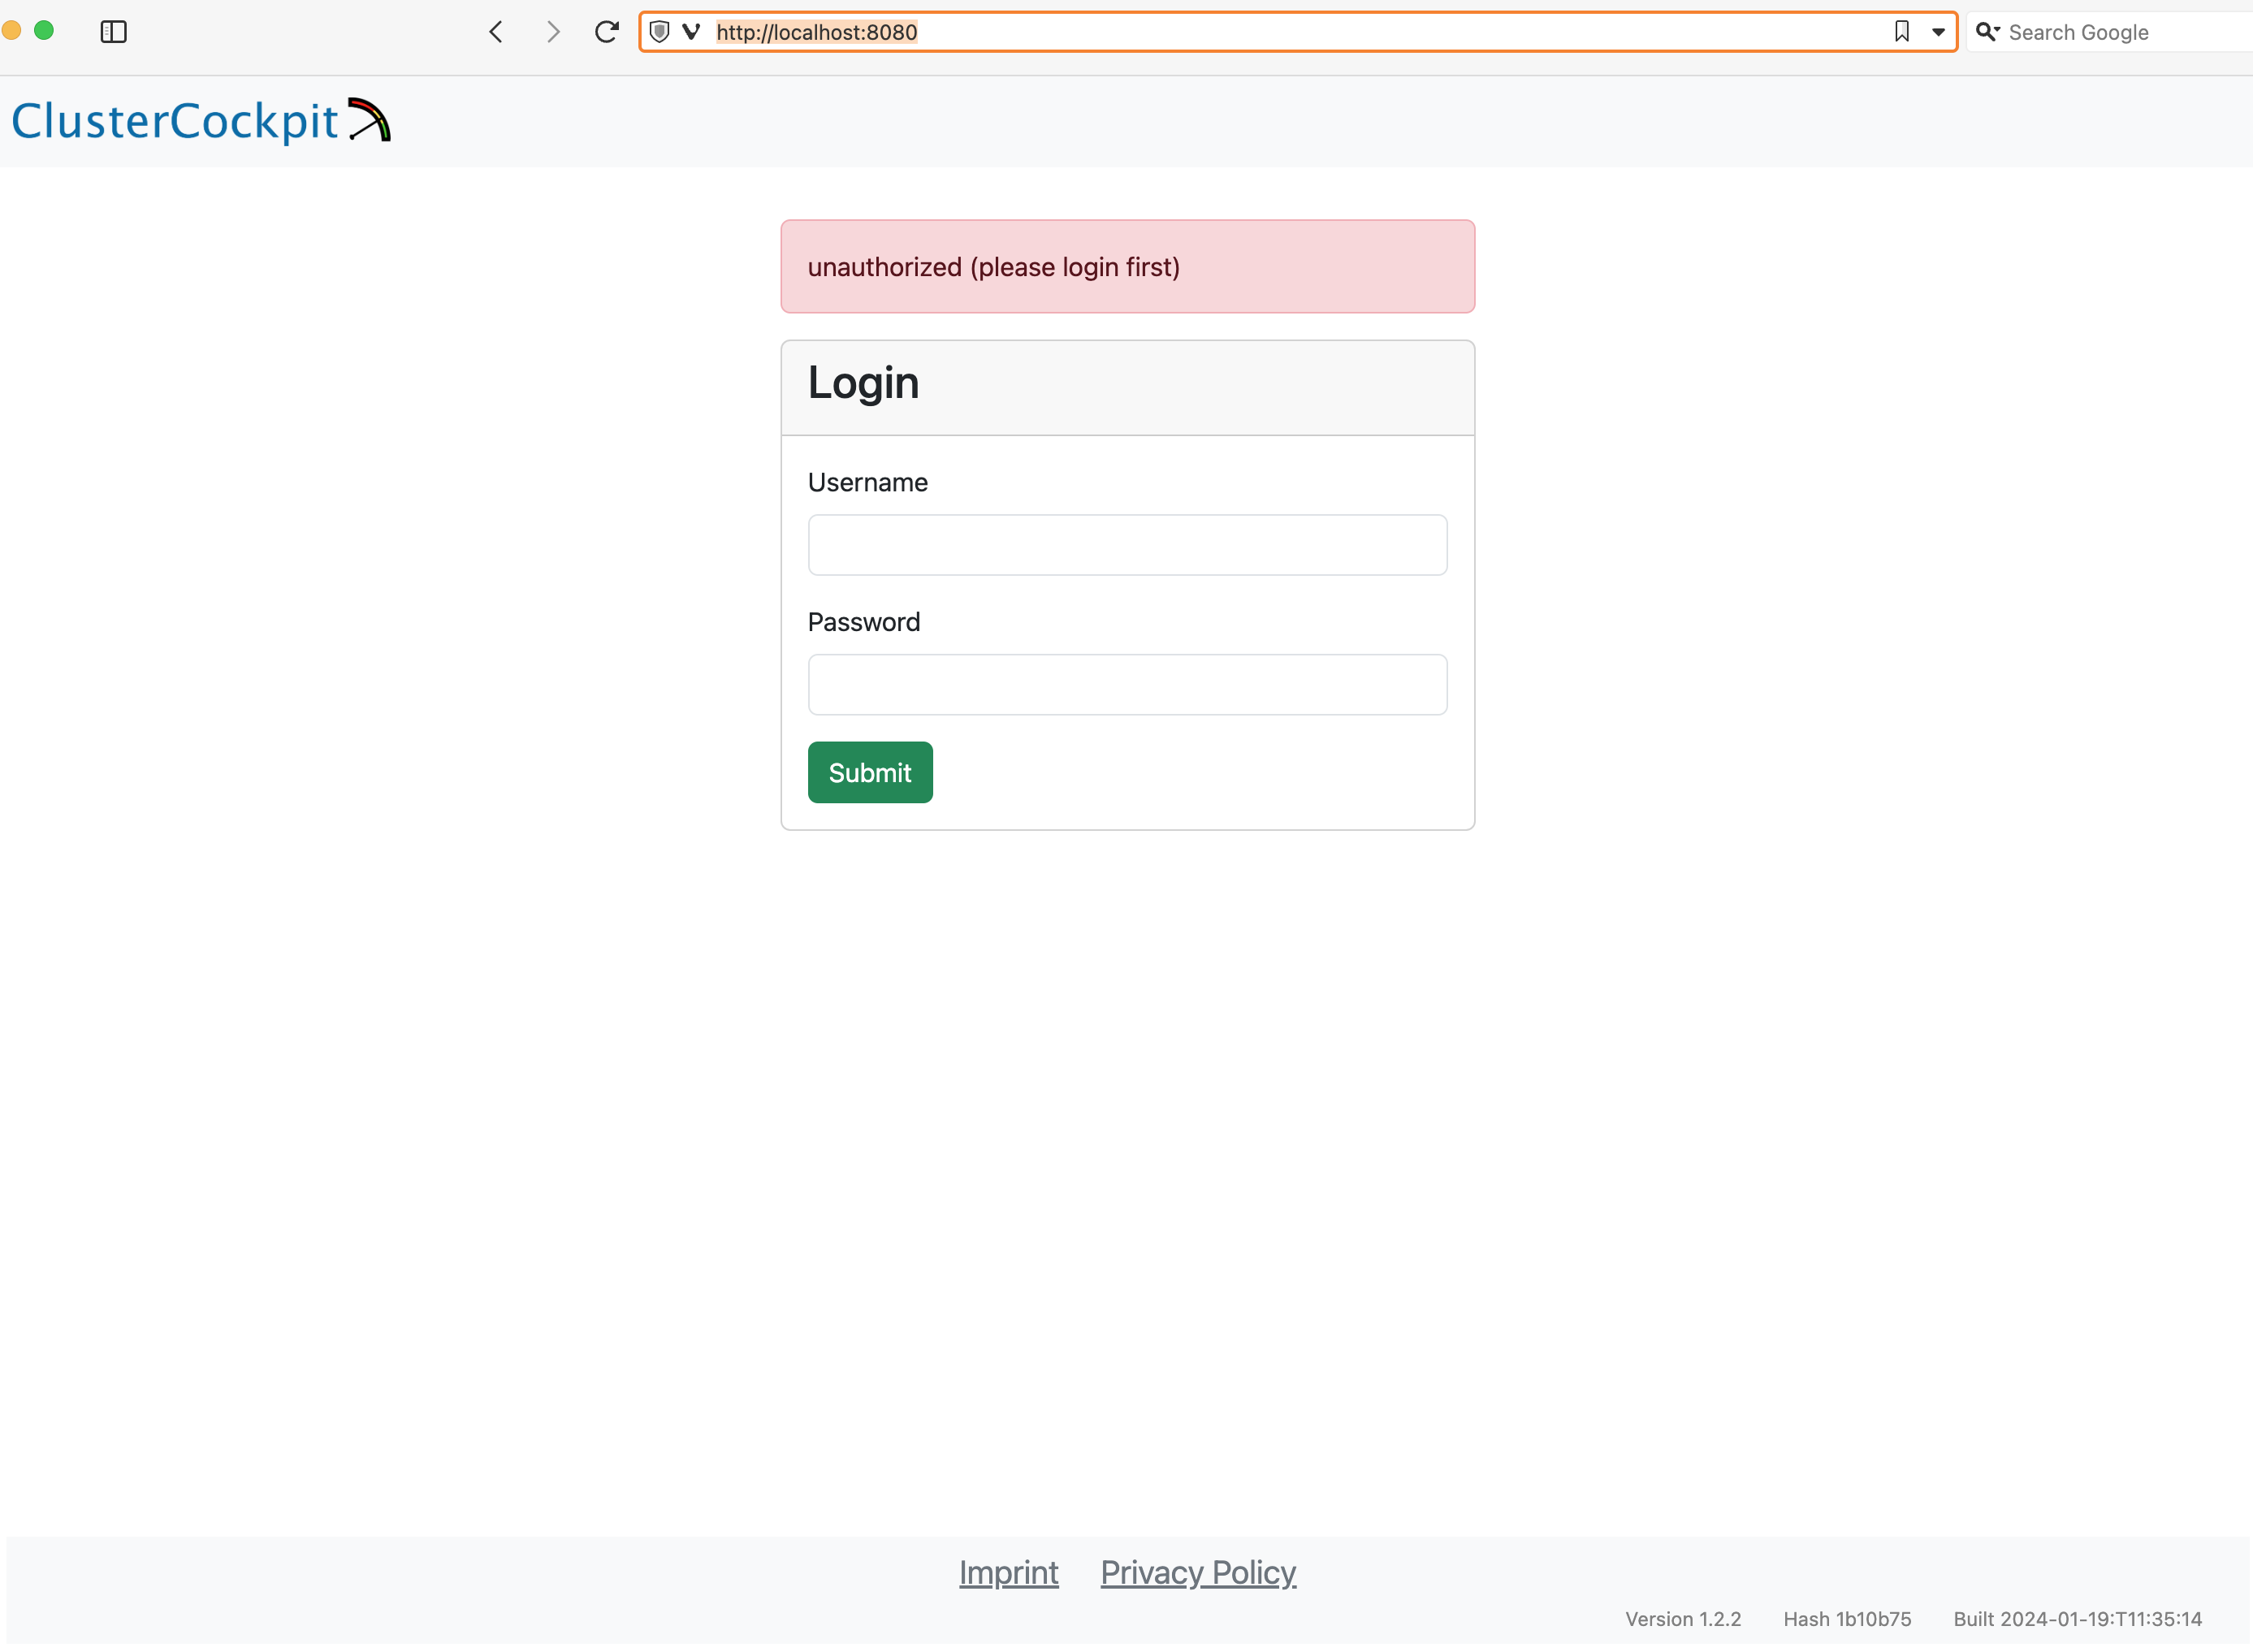
Open a web browser and access http://localhost:8080.
You should see the ClusterCockpit login page:
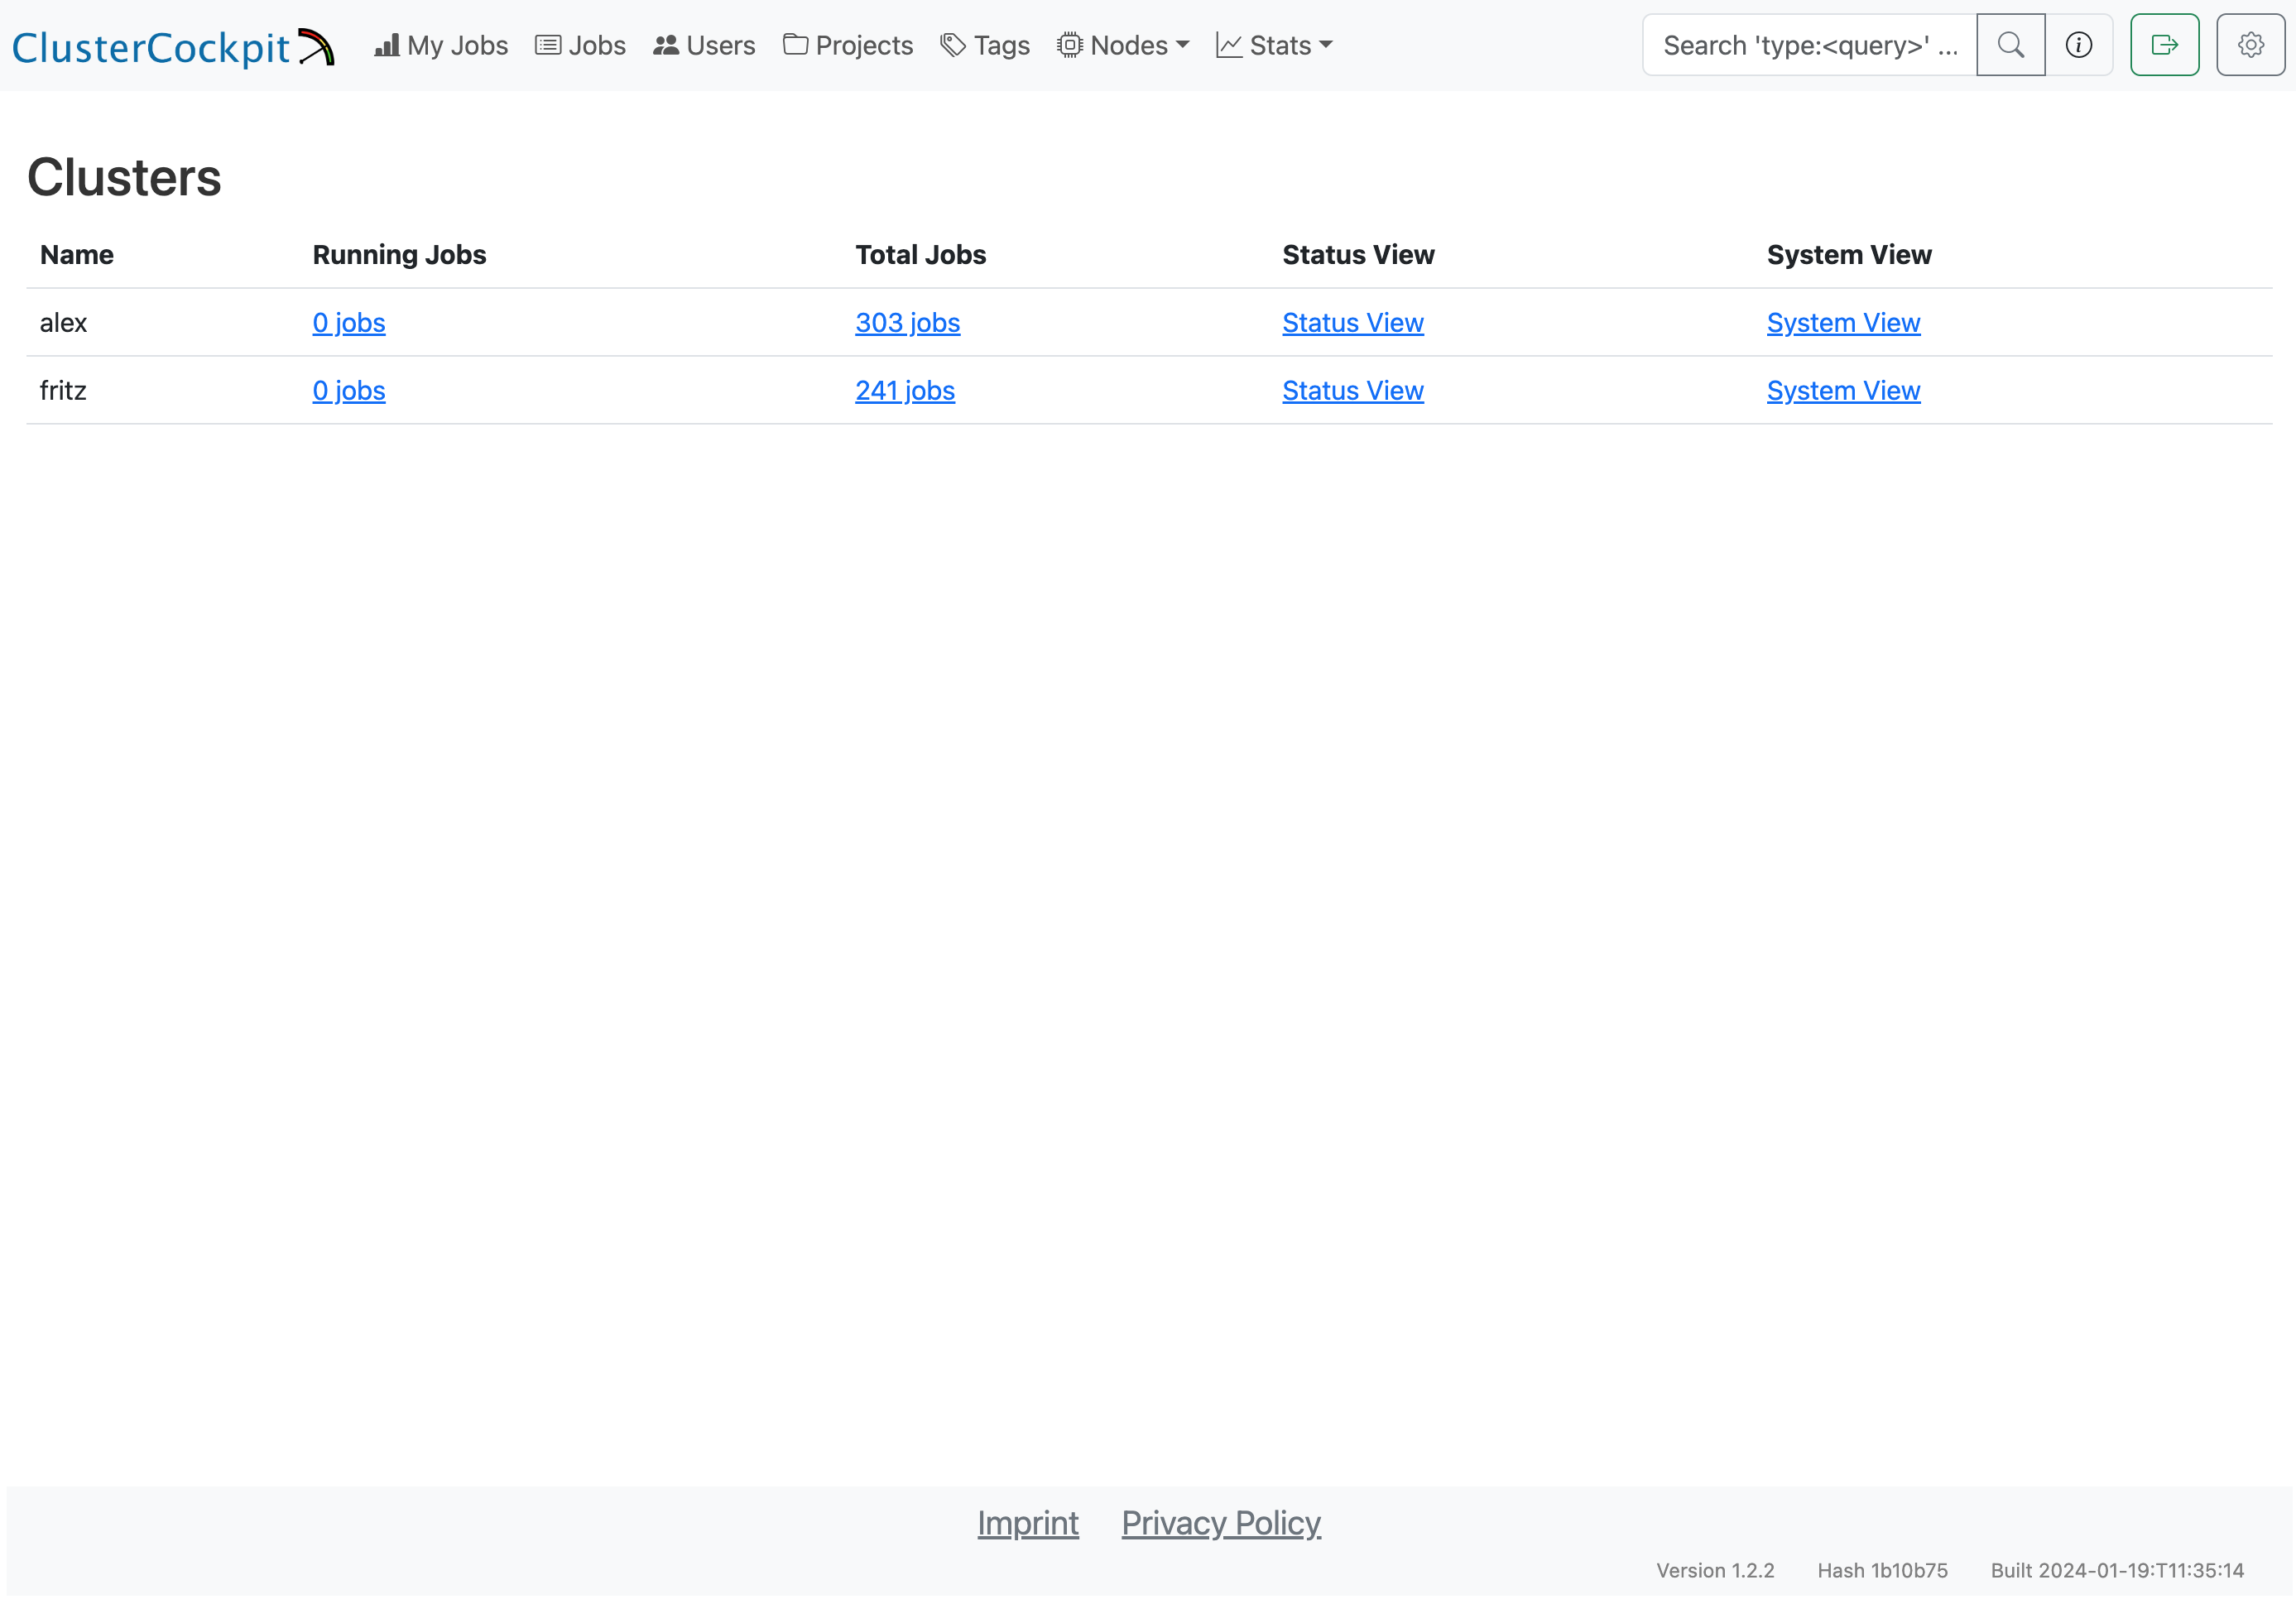
Enter demo for the Username and demo for the Password and press the Submit button. After that the ClusterCockpit index page should be displayed:
The demo user has the admin role and therefore can see all views.
Note
Because the demo only loads data from the job archive some views as the status and systems view do not work!For details about the features of the web interface have a look at the user guide.
Feedback
Was this page helpful?
Glad to hear it! Please tell us how we can improve.
Sorry to hear that. Please tell us how we can improve.